

Valentine’s Day is coming up and I was looking at photos from the past few years and realized that I never actually blogged my mini-Valentine’s Day Photoshoot that I did with my girls at home. I love to go all out with our photoshoots because I know how precious these first few years are. I know one day I’ll look at my teenagers and remember my babies when they were this little and I will have photographs to bring it all back.
I love photography, although I have cut down a lot this past year when Lennon was born. I chalk it up to just not having time anymore, but now that he’s getting older I see myself getting back into it.
It’s easy to setup a mini-photoshoot at home. Here are my tips on how to make the most of your photo shoot and how to get the best images of your kids. I’ll post all the details of what I used for this photo session at the end of the post.
1. Lighting – First up is the lighting, which is probably the most important thing to get right when you are taking photos. If you are fortunate to have a lot of natural light in your home all you need to do is open up your shades. If you can get nice, diffused, even lighting then you’re all set. For this photo shoot, I used a combination of natural light and a lighting setup I have. If you are going to be taking photos of your kids indoors I highly recommend this lighting setup. It’s great for amateur photographers and it’s fairly inexpensive compared to other lighting setups I have seen.
Do you see that sparkle in her eyes in the photos? That’s how you can tell when you have the lighting right.
2. Camera – You don’t need a DSLR to take great photos but I will tell you that it sure does help! I didn’t have any experience in photography or using a DSLR before purchasing one a few years ago. I learned everything about my camera from reading blogs and from YouTube! If you don’t have a DSLR I recommend starting out with a Canon Rebel. It was my very first camera and how I learned to shoot in manual mode. You don’t need a lens kit, all you need is the body and a single lens to get started. Sometimes the kit will come with things you don’t necessarily need or want. I purchased the body by itself which you can find similar here and then a 50 1.8 lens which you can find here.
If you are shooting in manual mode for your photography sessions here are a few basic guidelines that I use when I’m photographing my kids.
- Adjust your shutter speed first. It should always be above 125 when you’re photographing kids so that your images come out crisp and not blurry. Keep in mind that the higher the number the darker the image, which takes us to the next guideline.
- Adjust your ISO. Your ISO needs to compensate for your shutter speed to let lighting in. So increase your ISO until your images get brighter.
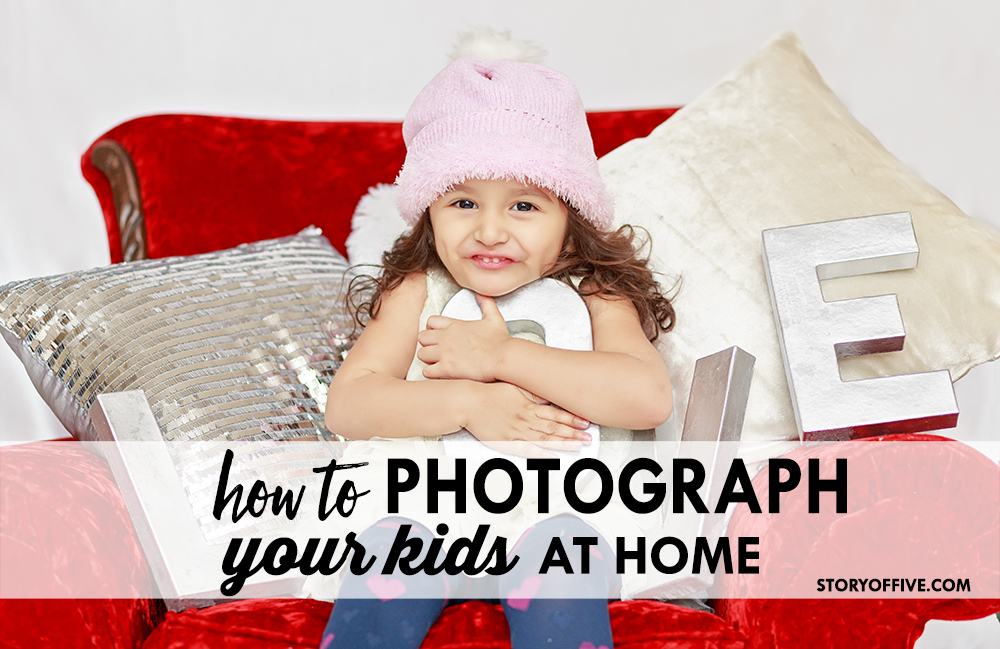
- Adjust your Aperture. This is how you get those blurry backgrounds. How far away the subject is from the background will depend on how much bokeh you get. Bokeh = blurry background. You don’t always want or need the bokeh. The first image I wanted to have everything in focus because she was on the red chair, my Aperture for this session stayed at 3.2 the entire session. As you can see with the photo below, once she moved off the chair onto the floor she created more space between her and the background and an aperture of 3.2 was enough to give me that blurry background. If I was photographing multiple kids for this I probably would have set my aperture to around a 5.0.
- Take lots of test shots!
- Props – Depending on your photography style or your environment you may need props, but since this was a Valentine’s Day themed shoot I used props.
– Pillows & White Rug- Amazon
– Outfit – Target
– Scarf – Fabric from Joann’s
– Candy Jar with Conversation Hearts – Target
– Candy heart box – Target dollar aisle
– Red Chair – thrifted $25!
– X O & LOVE Letters – Spray painted silver Chipboard Letters – Hobby Lobby
You don’t have to spend a lot to get great photos of your kids. Don’t be afraid to try some DIY photo shoots in your own home. When I first started out, the thought of setting up lighting equipment scared me and I had no idea how to use a DSLR camera on manual mode. I only got better with lots and lots of practice and learning from my mistakes. Even if you don’t want to try shooting in manual mode you can still use lighting equipment and use your camera on Auto mode.