
I figured I would write up a quick post about this since I’ve gotten a few questions since about how we made this.
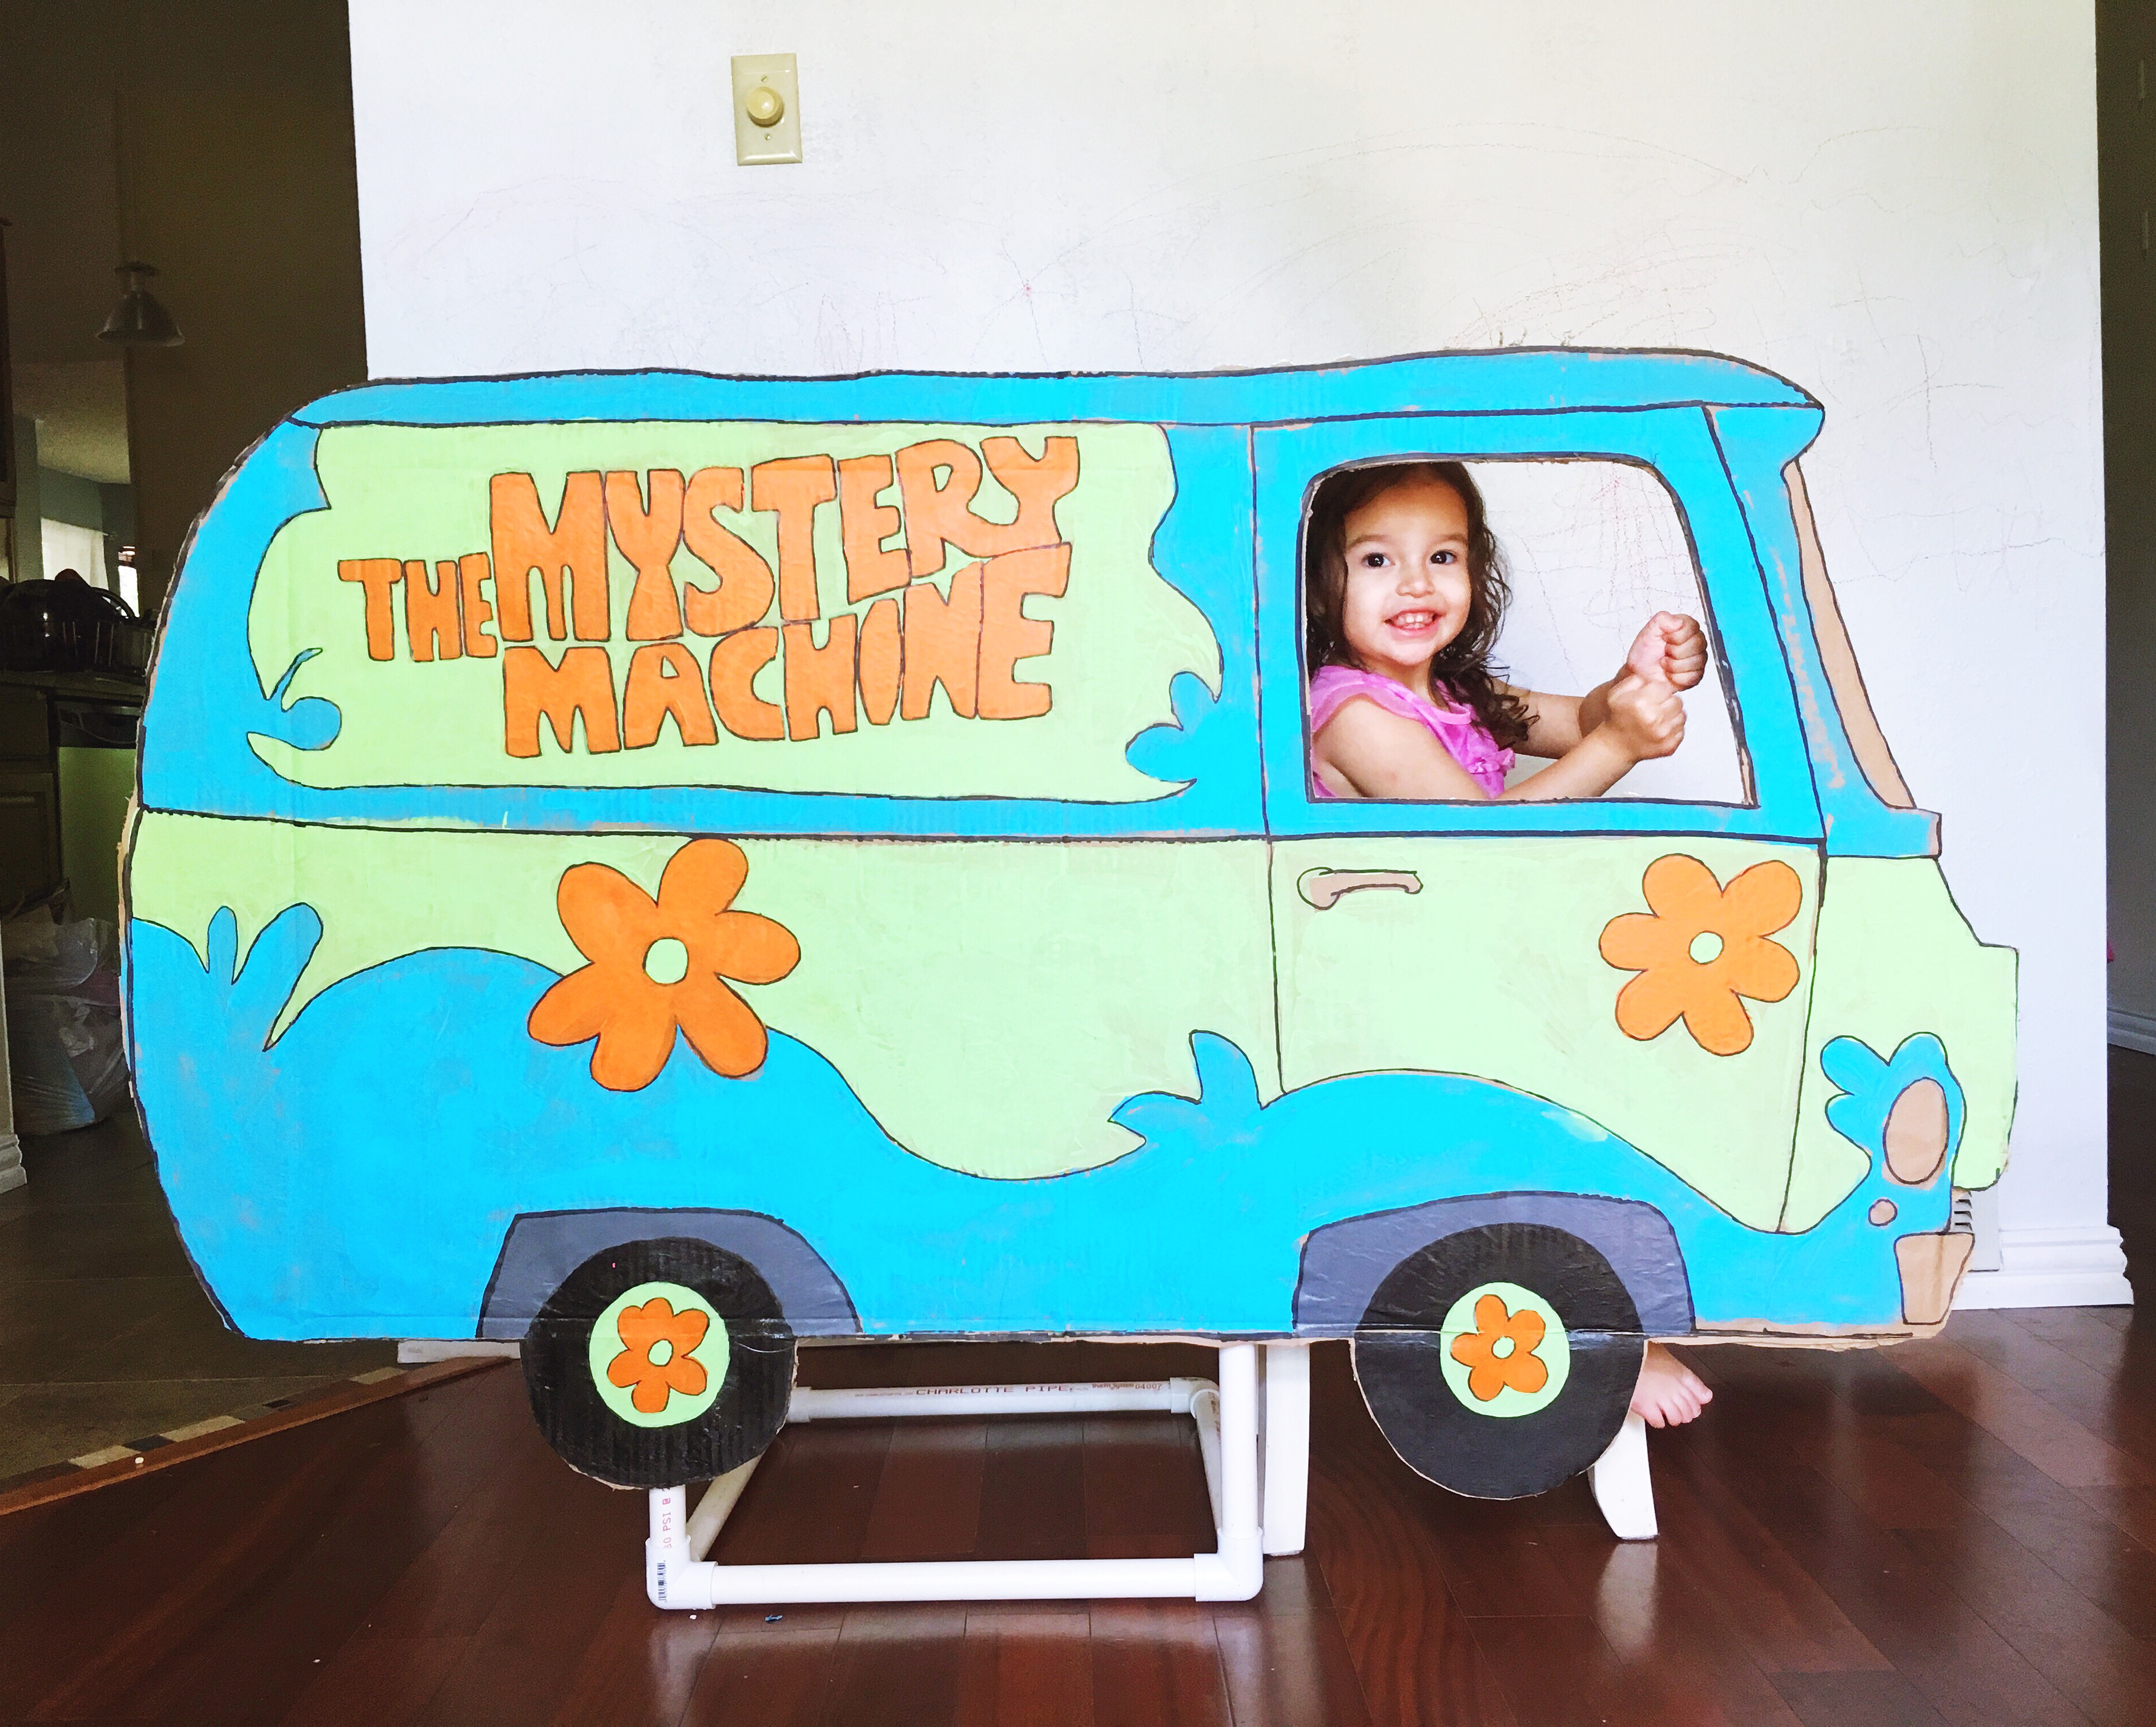
First off, the girls birthday party is on Saturday! And they LOVE everything Scooby Doo. I had seen these Mystery Machine photo props on Pinterest but I didn’t see a tutorial on one, just photos, but I was determined to make one. I winged it but it could not have come out better. I love it! It’s just as I had it pictured in my head.
So here are the details on how we made the photo prop.
Related: June & Scarlett’s Scooby Doo Mystery Machine Party
Here’s what you need:
Large Cardboard boxes
1 box as big as your mystery machine
1 box to cut up into pieces to make final product sturdy
Acrylic paints & brushes – mystery machine colors – Green, Orange, Turquoise Blue, Black, White (We did not have white, so you will notice the front light is unpainted.
small hand saw to cut the pipe
2 two-way joints and 2 three-way joints
sturdy tape
a small chair or stool
Measurements:
Our mystery machine stood 36 inches high. You will need to measure how high you want yours in order to determine just how long to make your stand. The PVC pipes we purchased from Home Depot and came in one 10ft pipe so you only need one.
Since we had our PVC pipes from another DIY project they were already cut, but when we originally cut them the husband a small hand saw. So you can see that one pipe is longer than the other because we just used the ones that were already cut. But the different lengths won’t matter, it just has to be long enough to keep it up.
You will need four shorter pipes to use as the base connected by the two-way, then you will need the longer ones and connect them to the base with the three-way.
What To Do:
First cut your cardboard box, I just used one side of a large box. If you need to piece some smaller boxes together with tape that could work too! Then, I pasted kraft paper to it with spray adhesive. This is so you have a clean canvas for drawing and painting. Then, with a pencil I drew the mystery machine. This part takes the longest. After perfecting your drawing, go over the pencil with a black marker. Next, it’s time for painting. For the gray wheel wells we mixed green and black together since we didn’t have a gray color.
Once your paint is dry it’s time to cut it out. My husband this did part. He used an Xacto knife and scissors to cut it out, including the window. After it was cut, he used parts of cardboard to make it sturdy. He cut up pieces and used spray adhesive to paste it to the backside. After it’s dry it’s time for the PVC stand. Measure how high you want it to be, we measured how high it had to be for our girls head to fit in the window. We are using a small chair we have for them to sit behind the prop. Put the PVC stand together as shown in the photos, then I used packaging tape to tape the pipes to the back.


And that’s it! Your kids are ready for their photo opp!


The party is tomorrow and we can’t wait! I plan on posting photos of the party too so stay tuned!