I have to first say that I’ve been a little MIA lately from my blog. There’s a million reasons why, the girls have kept me busy, housework never stops, I started a new venture <– more on this later, and really, just more of my free time now is being spent on family time. But, I wanted to share some birthday party planning with you because I’m super excited, as always, about the girls upcoming birthday. 🙂
You might have seen an earlier post last week about Disney sending us The Pirate Fairy to watch and review. Well, the girls LOVED that movie, I mean even just the song they stop in their tracks and start dancing, both of them. 🙂 So I just knew that this years birthday party theme had to be Fairy themed.
The first thing I decided, after deciding the theme of course, was what the girls would wear. I knew there had to be Tutu’s and fairy wings! I went to the store to look around just to see what they had; I found a baby tutu and wing set that was perfect for my littlest fairy, it came with a matching headband so I bought it and she is set. I didn’t find the same for my toddler so I found myself in the fabric section getting myself some rolls of Tulle.
Here is the finished product. 🙂 It was taken with my phone so it’s not really clear but you can get the idea of her excitement level. 🙂
I had to have her try it on so that I knew how much to attach it in the back and she DID NOT want to take it off! This is not a no-sew tutu although it very well could have been. The only thing I hand sewed was the elastic in the back together once I measured her waist. I just used a sewing needle and a tiny bit of thread and that was it. The tulle is attached to the elastic by tieing a slip knot on the elastic. I didn’t even measure my tulle, I just eyeballed the length I wanted it to be, give or take about an inch to leave room for the knot. If you want to see a tutorial on how to tie a slip knot using the tulle, check out this tutorial.
I used:
1 roll (50 yards) of white Tulle
1 roll (15 yards) of sparkly pink Tulle – only used a few strips to add color
The smallest package of non-roll elastic
Sewing needle and thread
The next thing I set out to do was the invitation. I wanted to get them in the mail as soon as possible since her birthday is already a few weeks away. We decided to go with a joint birthday party for her and her sister who are 14 months apart.
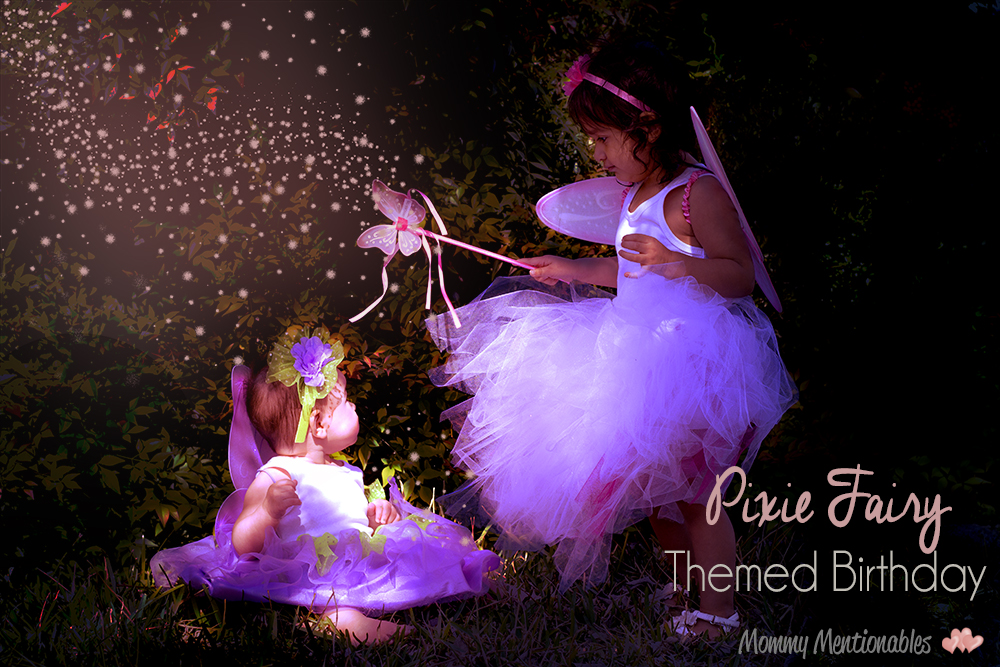
I made this invitation below. I will add in the girls names and of course party details….and we can’t forget the boys, so Pirates seemed to fit well.
I made the invitation using Photoshop and was inspired by this tutorial. Although I used my own edits to get the color and lighting/darkening just right for my photo, I did use the fairy brush. 🙂 I love the final result.
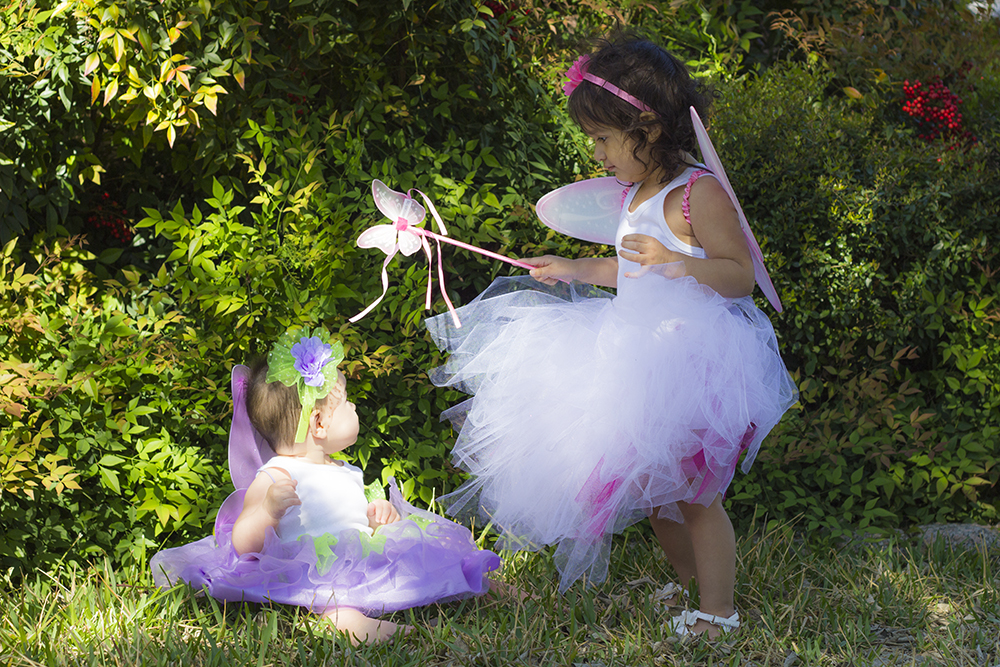
Here was the original photo. The lighting was more on my littlest one’s face than I wanted it, but it worked out with the lighting and editing I did in Photoshop. I can’t take credit for that. I was really just trying to get the girls in a pose and snap the shot as quickly as possible before one cried or the other ran off.
Secret to getting this pose? “Honey, show your sister your fairy wand” 🙂
That’s it for now! I’m working on some printables for the fairy party that I hope to share with you soon!
UPDATE: Birthday party was a big success! Check out my post on the girls birthday party here.


